
Happy New Year Folks!
Now that we are back to work – it’s that time of the year to map out the priorities and busy periods ahead of time. I’m a huge proponent of planning.
If you don’t plan, you plan to fail.
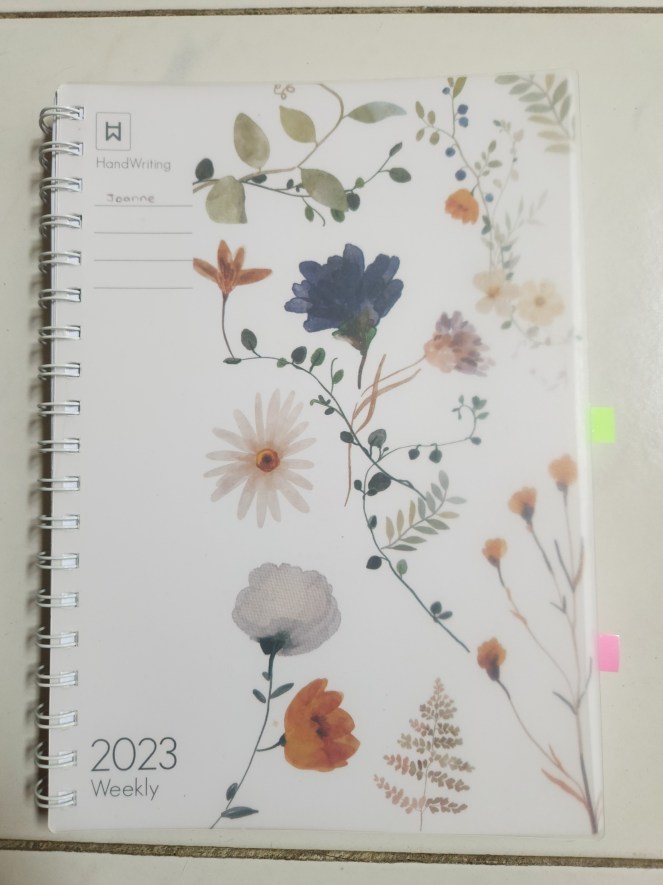
I’ve experimented with a few styles of planner but 3 years ago I found a system that works, and I never use a different version since. I’ll share with you how I use it and why I think it works best.
Benefits:
1. Shows the Big and Small Picture at the same time
At work, you must be able to zoom in and out as required. The devil is often in the details but we can’t lose the forest for a single tree. If you don’t know when something is due or why something is important, how would be able to effectively decide what to prioritise and the best method to approach it?
2. Enables tracking for effective progress monitoring
What doesn’t get tracked doesn’t get measured. With a Planner, you can jot down your priorities and to-do list for the day/week/month/year and tick them off as you go. You can even include highlighters, post-its, markers to indicate different priorities. When you need a quick status update? Flip your planner and it’s all there!
3. Plan your leaves effectively
When you have an overview of the busy periods, deadlines at work – you can effectively plan your leaves. & Vice versa. You’d want to be plot in important dates to you or your planned leaves and see how that coincides with your work. Only when you see it clearly on a planner, can you assess your priorities and resources at work to ensure KPIs are still delivered even though you are out of office.
Now that I’ve shared what benefits you will walk away with – lets run through my proposed format!
Year at a glance – level 1
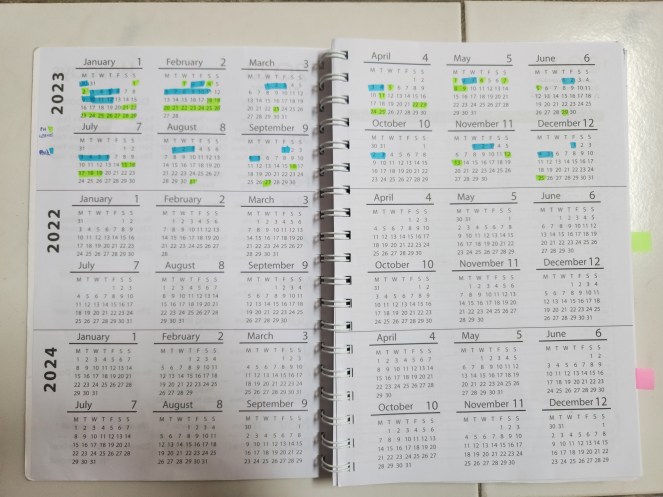
This is an overview of your year.
This page shows the current year, the year before and year after.
You should use this page to map out certain key priorities. As you can see I have highlighted in green days that I’ll be out of office be it from Public Holidays or Planned leaves. And for days that I know I must be in office due to monthly deliverables, I’ve mapped them out in Blue.
As more information trickles in, you can always add more highlights or circle them; feel free to structure your legend as you see fit. The purpose is to allow you to manage your own expectations of your use of time, and plan your resources accordingly. Example February is a short month and you are away most of the time? then it isn’t a good time to launch a new project, instead focus on what are your TOP priorities for the month & week.
Year at a glance – level 2

This shows you your highlight/priority for the day – every single day for a year.
I use this page quite differently actually – because I don’t maintain a separate personal planner, I use this page to jot down my highlight for each day. So that when I look back on the year, I get a sense of how the days played out for the entire year.
Of course, if you’d like to use it purely for productivity and work purposes, you may also schedule the same deadlines and key priority for every day. This should coincide with what you already plotted in Level 1 and also follow through in your month, weekly and daily view later on.
Monthly view

This is a page of your monthly priorities.
You can plot your deadlines/key to-do for each day. I like to use the bottom lined pages to indicate the theme/priorities for the month so I remain focused as to what I have to deliver for the month. Afterall when you set your yearly goals – they are often strategic, high level in nature – but it’s what you do in the one month that ensures you are on track to achieving them.
At the start of each day/week, I’ll often refer to this page or when I review with my bosses and we are trying to decide when best to start a new project or initiative, I’ll use the monthly view the most. It’s the best midpoint to stay high level and grounded at the same time.
I love that this planner also shows me the month before and after because ofen times work does spill over months so I can easily refer within the page.
Weekly & Daily view
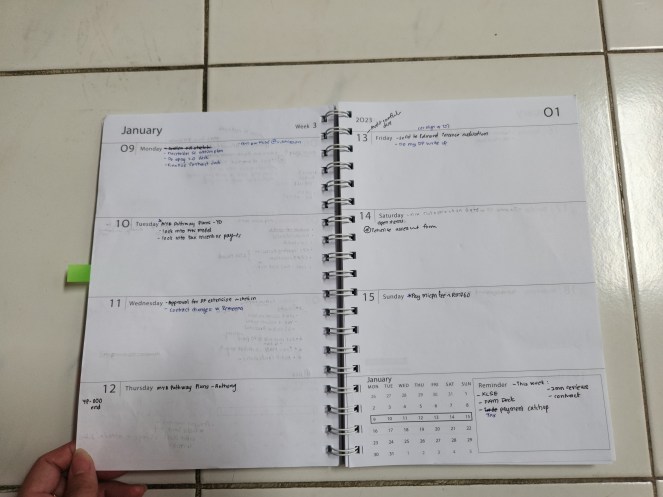
This is where you get tactical.
Your weekly view is dictated by what your monthly goal is and what you need to focus this week and by the day to get it done. I often use either colours, highlights or different signage to indicate if it’s a deadline or if it’s a to-do list. Eg. If it’s a deadline I often put an asterisk* in blue example – Review with XX; and what I must do will be in a bullet point.
I then use the reminder box to remind myself what I must accomplish at the end of the week. If this doesn’t get completed due to specific reasons, I know it remains an open item and I bring it forward to the next week.
At the back of this book, there is a general page – which I always encourage everyone to have to facilitate brain dumping, brainstorming and general notes for discussion points. I usually use OneNote for it, with is electronic because it’s easier for me to CTRL+F but sometimes you are in a meeting and there is just something that sticks better when you think of an idea and you jot it down on paper. You can also then map it back to the various views above when you have the time.
I still think there is benefit to planning physically on a book because what you usually write, helps you remember better. Of course, this style can also be adapted virtually, so long it helps you achieve your objective.
That wraps up my proposed guide on how to use a planner, be it when you are hunting for one, or using a bullet journal to design one yourself. Would highly recommend choosing a planner that ultimately lets you stay focus on your priorities. If you know what they are but not when they need to be done, or how – then how can you ever achieve them?
Happy Planning!
Do let me know if you experiment with different styles 🙂
